How to Connect to MySQL Server
In the second article of the series uncovering how to get started with MySQL, we talk about the ways of connecting to MySQL Server.
You can connect to MySQL Server using MySQL Client, dbForge Studio for MySQL, and MySQL Workbench. In this article, we consider each method in detail.
Connecting to MySQL Using the MySQL Command-Line Client
Connecting to MySQL Using dbForge Studio for MySQL
Connecting to MySQL Using MySQL Workbench
Connecting to MySQL Using the MySQL Command-Line Client
In the first article of our series, we provided a detailed walkthrough outlining the aspects of how to install MySQL Server on Windows. In this guide, we build on the fact that your MySQL server is up and running.
To connect to MySQL Server:
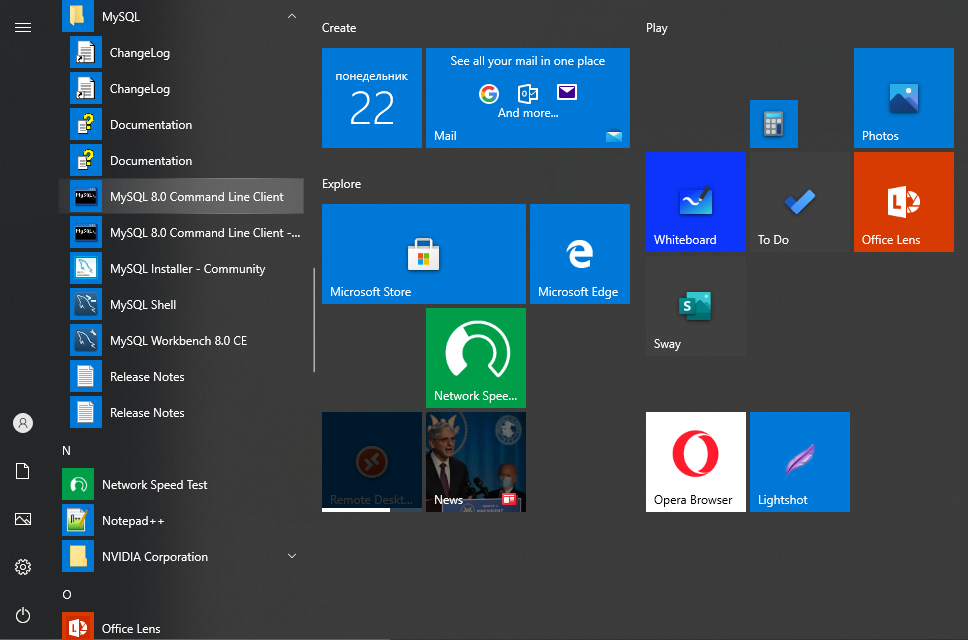
- Locate the MySQL Command-Line Client
MySQL server is usually installed together with a console client for working with databases. On Windows, you can find the MySQL Command Line Client in the Start menu. Please note, that the client is installed in two versions – with the support for Unicode and without it.
- Run the client
When you run the MySQL Server Command-Line Client, the command prompt window opens asking you to enter a password.

- Enter your password
Here, you need to login to MySQL from the Command line by entering the password that was set for the root user during the MySQL installation.
In case of a successful connection, you see something similar to this: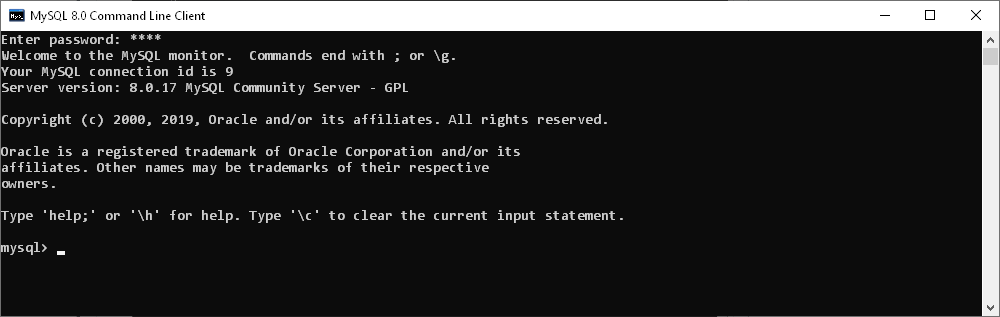
- Get a list of databases
Enter the show databases command to get a list of databases on our MySQL Server.

- Create a database
To create a new database, use the create database command.

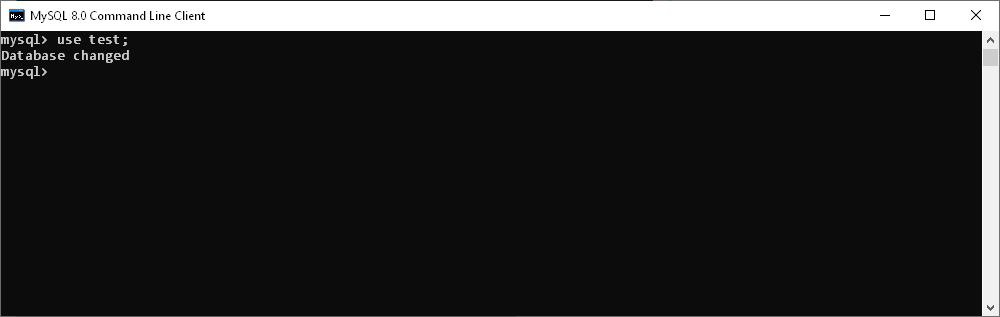
- Select the database you want to use
To connect to a specific MySQL database, at the MySQL prompt, type the use database command and specify the name of the database you want to use.
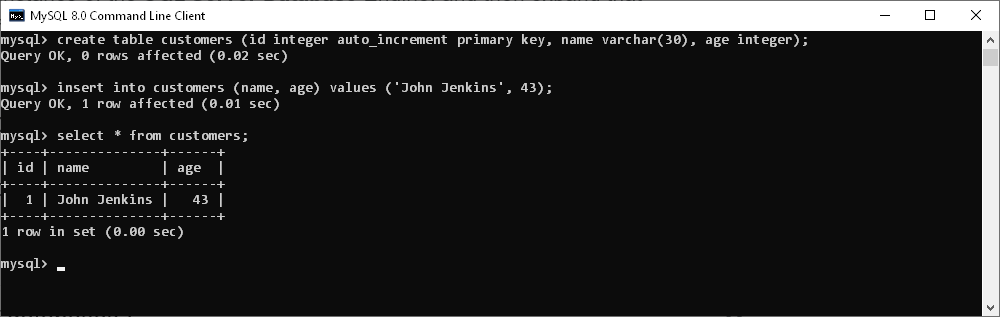
- Create a table and insert data
Use the create table and insert into commands to create a table in our database and insert data into it.
- Finish working with the MySQL Command-Line ClientTo leave the MySQL client, type quit at the prompt and press Enter.
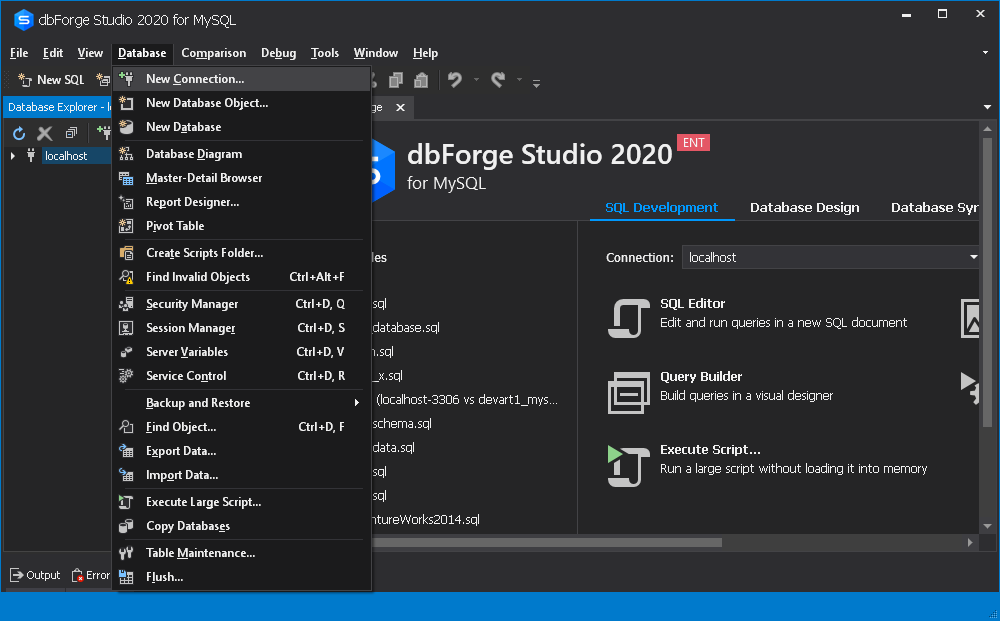
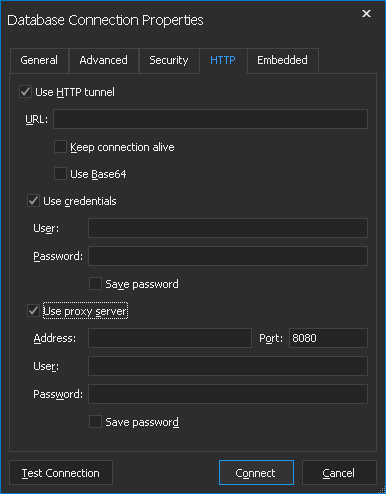
Connecting to MySQL Using dbForge Studio for MySQL
or
click the New Connection button on the Connection toolbar.
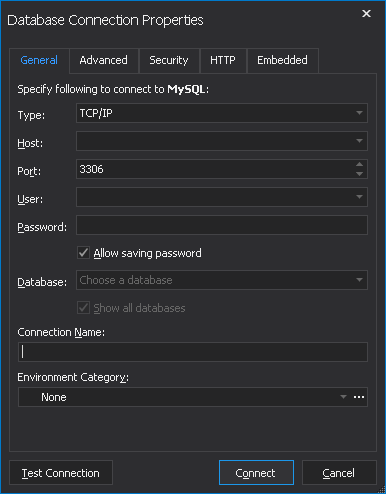
4. Enter the host name in the Host box.
5. For a TCP/IP connection, enter the port information in the Port box. The default port number is 3306. For a Named pipe connection, enter the pipe name in the Pipe box.
6. Enter the login credentials in the User and Password fields.
7. In the Database field, type or select the name of the database to which you want to connect.
8. The Connection Name will be generated automatically from the Host name. However, you can create a distinctive name for your new connection, if required.
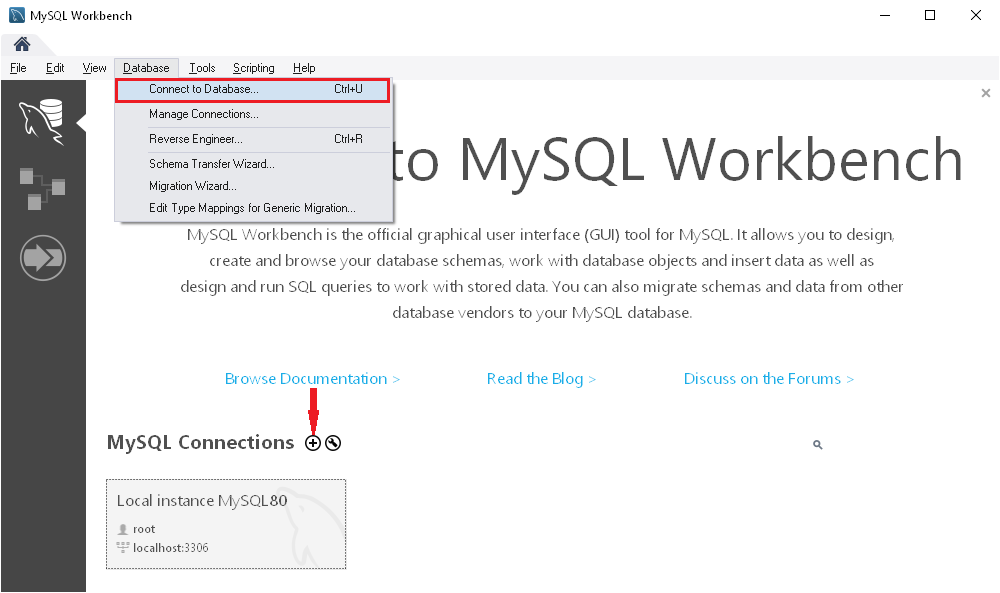
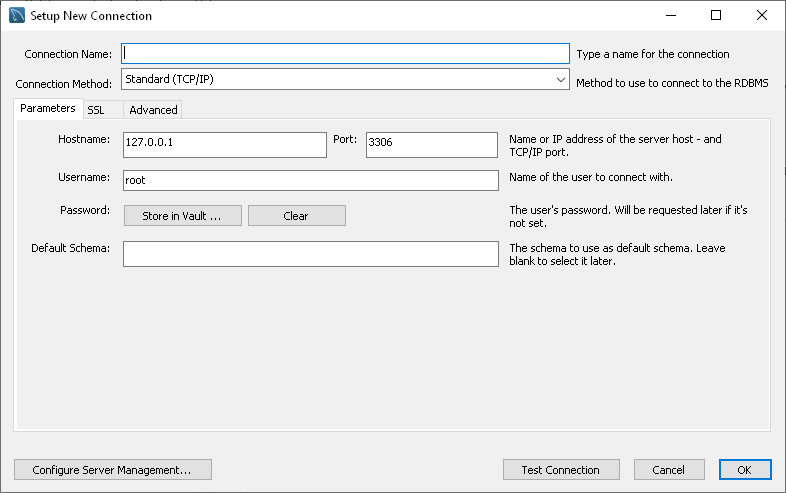
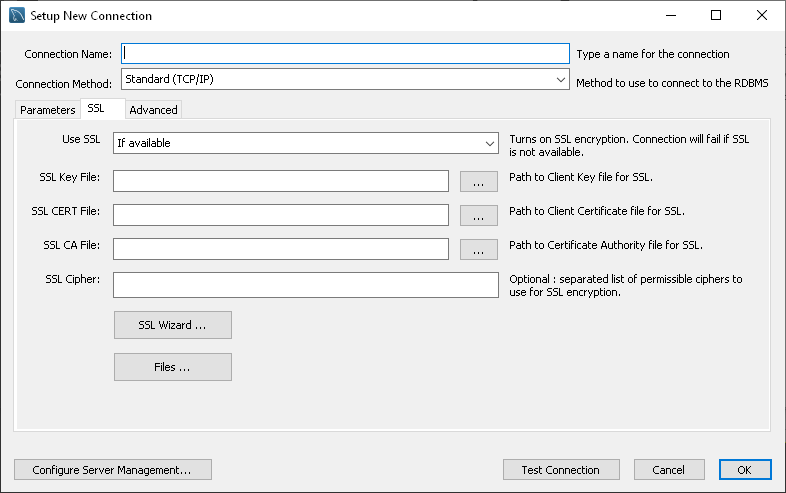
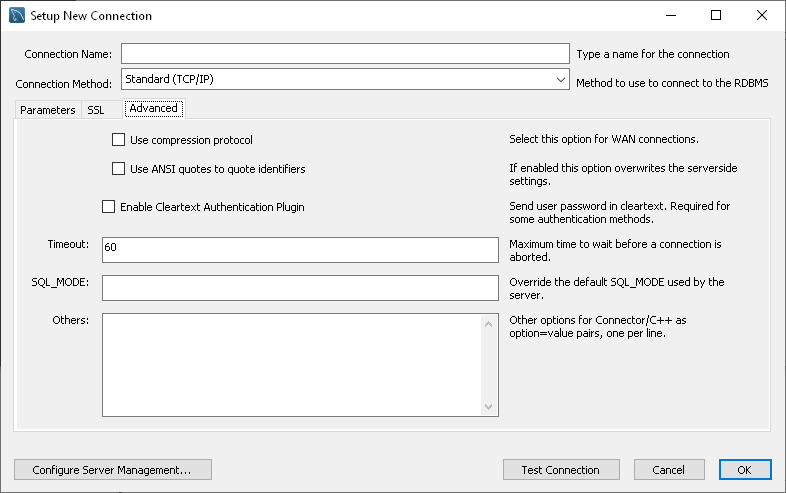
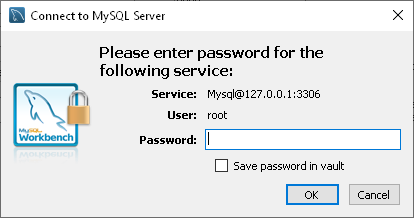
Connecting to MySQL Using MySQL Workbench
Alternatively, click the plus icon next to MySQL Connections label.

Conclusion
Related Articles
SSH Host Key Verification Error in dbForge Studio for MySQL
Attempting to connect to a server over SSH may fail with the following error message: Can't connect to SSH server: The computed hash verification does not correspond to the received. (code 0) The same connection may work successfully in PuTTY or ...Creating a Connection from External Parameters in dbForge Studio for MySQL
dbForge Studio for MySQL does not currently support creating or opening connections by passing connection parameters through command-line arguments or Privileged Access Management (PAM) solutions. The workaround described below allows a connection to ...Lost Connection to MySQL Server
A lost connection to a MySQL server is a common issue and, in most cases, is not related to dbForge tools. It typically occurs due to server settings, network interruptions, or long-running queries. Recommended Solution For official guidance on ...How to Install MySQL on Windows Using MySQL Installer
This article provides a comprehensive walkthrough on how to install MySQL on Windows using the official MySQL Installer. Follow the step-by-step guide to ensure MySQL Server and its tools are installed and configured correctly for development or ...TLS 1.3 Support on Windows 10 with MySQL and PostgreSQL
Issue When connecting to MySQL or PostgreSQL servers on Windows 10, you may encounter errors if the server is configured to use only TLS 1.3. However, the connection succeeds if TLS 1.2 and TLS 1.3 are both enabled. Reason Windows 10 does not support ...